|
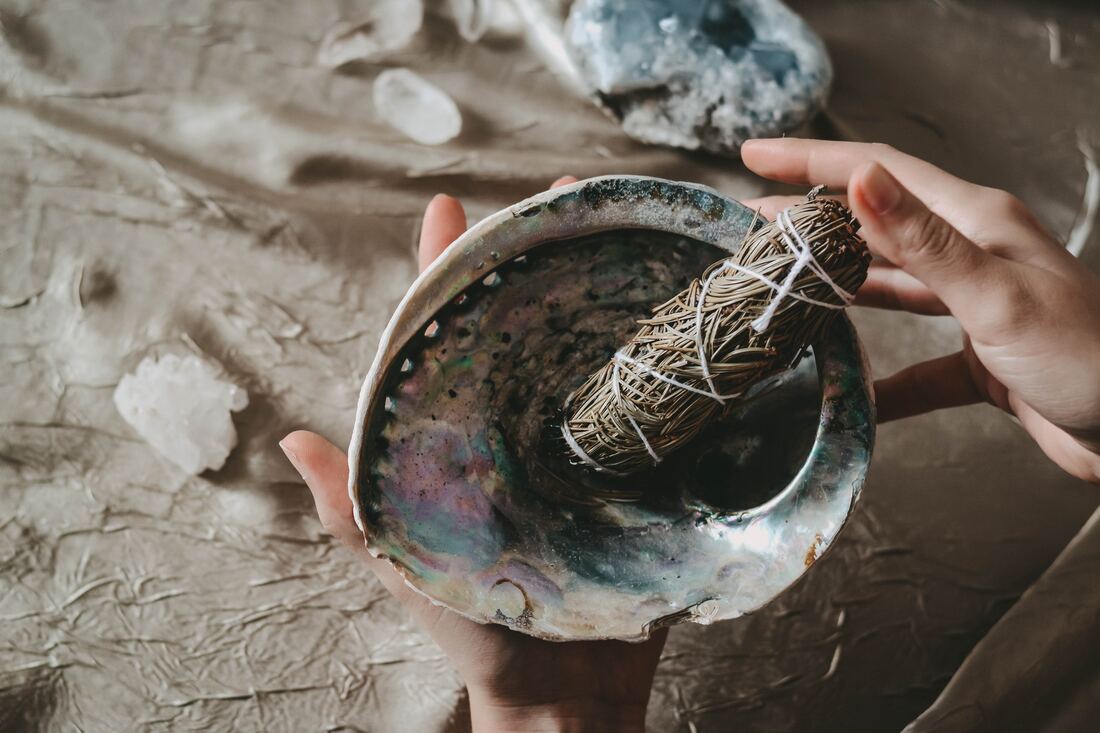
A smudging ceremony is the ritual of burning plant resins and herbs in a shell or a clay bowl while intentions and prayers are called forth. For centuries, Native American and Indigenous cultures have practiced smudging rituals to clear away negative energy, to invite in peace and harmony for individuals or environments. The smoke from the herbs and the plant resins are fanned using a feather or a hand and directed like a spiritual cleansing bath surrounding the person or the space. "The purpose of this cleansing ritual is to clear away anxieties, sadness, impurities, dark thoughts or unwanted energies that may have attached themselves to a space or an individual." Smudging is most often performed before or as part of a ceremony to clear the environment and the people from certain thoughts or feelings that will not serve the highest good in themselves. For this reason, it is important to set a clear intention while smudging. As the smudging ceremony is practiced, the smoke rises and so do the prayers to mother earth, the sky, to the sun and the moon, to the plants, the animals and the water. The burning of the sacred plants- palo santo, sage, cedar, and sweetgrass- to name a few, support the connection to the sacred realms between the earth and spirit. Through this connection to spirit the smoke bath lifts negative feelings and energy and creates an opening for prayers and intentions to be heard, therefore bringing positive intention into practice. What Plant Medicines are Used for Smudging? Here are a few of the Plant Medicines used for Smudging and the symbolic meaning behind them: Sage Sage offers clarity, vision, strength and wisdom; it is known as a medicine for Women. Sage is used traditionally in Native North American, First Nations and Indigenous cultures to represent the life force and maternal lineage of women. Sage can be gathered and bundled to dry in a stick or a smudge stick can be purchased already dried. Palo Santo Palo Santo is a mystical tree that grows on the coast of South America and it means “Holy Wood” in Spanish. Palo Santo looks like a small wooden stick and it’s scent is known to raise the vibration in preparation for meditation, creative endeavors and ceremony. It’s known to bring a grounded and clear feeling when burned and is related to Frankincense, Myrrh and Copal. It is used the same way as Sage and is burned and fanned with a feather to clear the air and ask the spirits for permission to perform the ceremony. Cedar Cedar is used to heighten positive energy, to uplift feelings and evoke positive emotions. Cedar holds the medicine to purify and return balance. Cedar can also be used as a healing tea as it is very high in Vitamin C. It can be bundled, dried, and burned for purification and to heighten the connection to the spiritual realms. Sweetgrass Sweetgrass is on the of the four medicine plants used by all Native Americans/First Nations, the others being sage, cedar and tobacco. Sweetgrass is braided, dried and then burned as a cleansing ritual. As the smoke from smudging rises it is believed that our prayers too will rise up to the world of spirit to be seen, heard, and to be remembered. Sweetgrass symbolizes kindness- as this plant only bends when walked upon and never breaks – may we too remember that if injustices are done upon us may we hold kindness in our hearts and not react with hostility. Sweetgrass is known as the hair of Mother Earth. Tobacco Tobacco is a sacred medicine plant to all North American Indigenous Cultures. Tobacco is believed to be a gateway or a bridge between the Earth and Spirit realms. Historically if tobacco is offered and accepted, then there is a sacred promise sealed. It acts like a commitment made by people and supported by the Spirit World. Tobacco can be used as a way to thank Mother Earth or the Creator for the abundance and beauty we receive every day. For example if you saw a beautiful sunrise or a rainbow and you want to give thanks you could leave some Tobacco upon the Earth for this gift of beauty. Tobacco doesn’t need to be smoked. Copal Copal is a natural tree resin and comes from the Buresa tree family in Southern Mexico. Since ancient times, Copal incense has been considered sacred to the Mayan and Aztec people. Offerings were made to the deities and the gods atop the pyramids and the sacred burial grounds. Copal is considered a medicinal tree to the Mayas and is used to clear the body of diseases. Using copal to smudge before meditation and ceremony can assist in strengthening peace of mind while removing energy blockages from the body. Any of these plant medicines – along with any others that you feel called to burn – can be placed in a shell, a clay bowl or the open fire. Take the time to witness the smoke purifying and rising, allow the smell of the herbs and incense to bring you into a place of pure presence. As you call forth your prayers, visions, or intentions stay curious, open and full of heart as you engage in your smudging ceremony. How to Smudge Smudging can be done before any kind of ceremony, house cleansing, before yoga, meditation, in a group healing circle and in nature. Before beginning make sure you have these items in place. I suggest sitting in a quiet space for a few minutes to feel the earth below you, to soften into yourself, to take some full deep breaths, and to get clear on the intentions you are calling forth before your smudging session.
A Smudging Blessing for New Beginnings Smudging is a very powerful practice and can work wonders in clearing away stagnant or unwanted energies in your home, in your heart or your mind. Being intentional, mindful, and calm as you are smudging creates a portal for you to go further into your spiritual work. The ritual of lighting a candle and then smudging yourself or your space allows you to gather presence, to let go of stress and to enter into your yoga practice, meditation, prayer or ceremony with intention. Let us rise up, clean our own energy fields and feed the greatness that lives inside us. Through this state of presence, may we also inspire our communities to live in their own greatness.
2 Comments
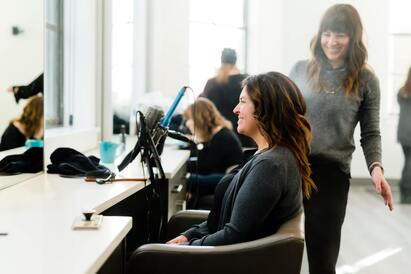 Choosing a hairstyle that flatters your face shape is key to looking your best. With so many different hairstyles to choose from, it can be overwhelming to know which one will suit you best. But do not despair, we've got you covered! In this article, we'll show you how to choose a hairstyle that flatters your face shape with four key points to keep in mind. Determine Your Face Shape The first step in choosing a hairstyle that best flatters your face is to determine your face shape. This can be done by measuring your face with a tape measure or ruler, or simply by looking in the mirror and examining the proportions of your face. The four main face shapes are round, square, oval, and heart-shaped.
Consider Your Hair Type & Texture When choosing a hairstyle that flatters your face shape, it's important to also consider your hair type. Do you have really flat, straight hair? Or is your hair full, thick and curly? As much as we may love the idea of the opposite of what we naturally have, we need to focus our inspiration on hair textures that are similar to our own, otherwise the time and effort needed to style your hair may be more than your willing to invest. And lets be real... Who wants hair that takes hours to style? Consider Your Lifestyle When choosing a new hairstyle, it's important to consider your lifestyle. If you have a busy schedule and don't have much time to style your hair, you may want to choose a low-maintenance style. If you're someone who loves to experiment with different looks, you may want to choose a more versatile style that you can play around with. Pay Attention to Facial Features Another important factor to consider when choosing a hairstyle that flatters your face shape is your facial features. If you have a prominent nose, for example, you may want to choose a style that draws attention away from your nose and towards your eyes. If you have high cheekbones, you may want to choose a style that accentuates them. Consider Your Personal Style Finally, when choosing a new hairstyle, it's important to consider your personal style. Do you prefer a classic, sophisticated look, or do you like to be more edgy and daring? Your personal style can play a big role in determining which hairstyle will make you feel the most confident and comfortable. By keeping these points in mind, you'll have even more guidance on how to choose a hairstyle that flatters your face shape and suits your personal preferences and lifestyle. Let me know in the comments below if any of these points helped you out.Follow me on Instagram @torontostylist to find more balayage and lived-in inspiration! Bond builders have been all-the-rage for the last 5+ years in the beauty industry. This newly developed technology has enhanced the way we work by offering stylists a way to protect clients hair from excessive damage do to chemical services, such as highlighting. Lets start this explanation with what bonds your hair's structure is made up of! The most inner part of your hair is made up of disulfide bonds. These bonds make up the strength and structure of the hair, so when they are broken, hair becomes weaker, more fragile, and prone to splitting or just breaking off. If you are noticing damage in your hair, it wouldn’t hurt to invest in a bond repairing product line such as Olaplex (who has the origional patent on this technology). Bond repairing products contain active ingredients that help heal these broken disulfide bonds in the hair. How is a bond repairing product different than a keratin or protein spray? A protein spray is great for restoring strength to the hair and helping strengthen the cuticle (the outer part of the hair shaft). But if you overdo protein sprays, it could end up making your hair feel stiff or hard, especially towards the ends.  When your hair feels like straw... Add a deep conditioner (or a hair mask) into your weekly routine. And make sure you’re using a heat protector before you style, like L'Oreal Professionel's Mythic Oil. Look into one of the bond repairing products below to incorporate into your hair care routine on a once-weekly basis. A few well-loved bond repairing products: Olaplex 4-1 Moisture Mask– my hair always feels fantastic when I use it! I typically switch up my hair masks pretty regularly, but I’m loving this brand new product. Olaplex Bonding Oil –This product delivers intense moisture to dry unruly ends, as well as heat protection and beautiful shine. You can use it on wet or dry hair. Olaplex Bond Smoother– This product is a must have for frizzy hair! It's a leave-in reparative styling creme that protects all hair types including colored and chemically treated hair. It strengthens, hydrates, moisturizes, and speeds up blow-dry times while smoothing and eliminating frizz and flyaways for up to 72 hours. It is highly concentrated and a bottle lasts seemingly forever! Questions? Leave them below! And if you enjoyed this, you may also like this post! 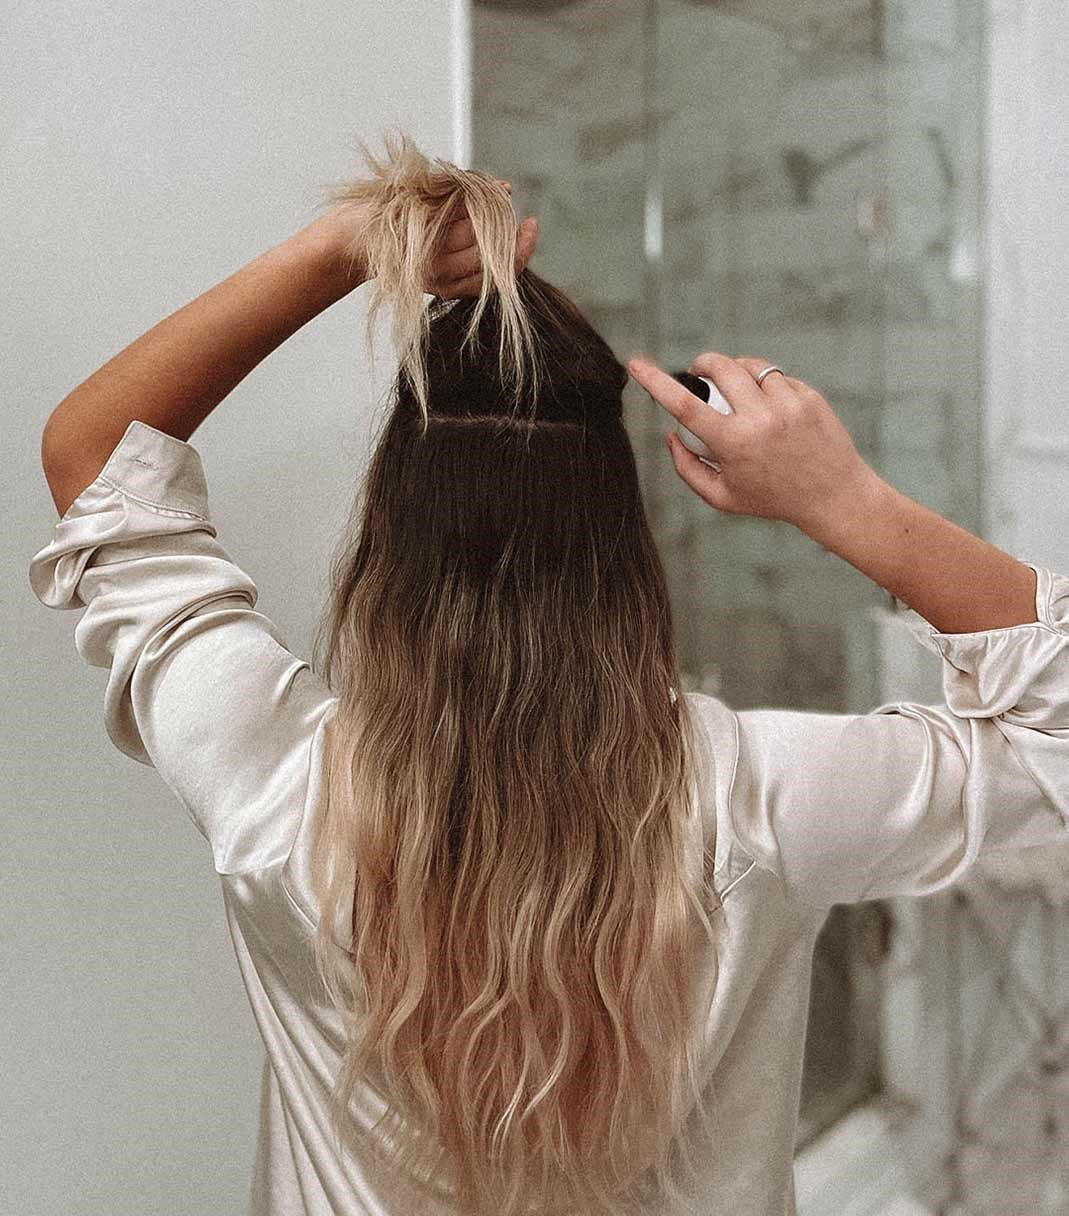 Want to know the secret behind those perfectly tousled, model-off-duty waves of your dreams? Dry texturizing spray. Texturizing sprays are hardworking multitaskers that boost volume, create definition, absorb oil, and provide support for updo styles. Part dry shampoo, part hairspray, this weightless spray is the key to achieving effortlessly chic waves. They work wonders on all hair types and can even help boost your natural texture instantly. Keep reading to get the scoop on this miracle product and discover how to best use texturizing sprays on your hair. You’ll definitely want to make room on your shelf for one. What is the difference between texturizing spray and hairspray? While both texturizing spray and hairspray can help preserve your style for a longer amount of time, there are a few key differences between the two products. First of all, texturizing spray is lighter than hairspray and leaves hair soft to the touch. While hairspray is excellent at smoothing flyaways, it can sometimes cause hair to feel sticky and firm. Unlike hairspray, texturizing spray creates volume and messy texture without freezing your hair into place. It can absorb excess oil from your roots and make hair feel light and breezy. A few spritzes is all it takes to give your locks that natural, lived-in texture that is basically a prerequisite to a great hair day. "Texture spray is great for building lightweight volume, absorbing oils, and creating a sexy gritty texture and subtle lift in the hair without weighing it down" How to Use Texturizing Spray When it comes to using your texturizing spray, hold the can 6-8 inches away from hair and spray in a circular motion, distributing evenly and shaking between sprays. If you want to boost volume, lift large sections of your hair and spray toward the roots underneath. Or if you’re looking for more structure and hold, apply the texturizing spray to specific areas before starting to style hair, like when your adding beach waves. Here are some tips to make the most of your texturizing spray on your hair: 1. PERFECT A MESSY PONY TAIL Forget those flat, scraped-back ponytails. Use texturizing spray to create a textured ponytail by lifting hair at the crown of your head and spraying underneath to add structure. You can achieve even more volume by backcombing hair with a fine-tooth comb. Then, secure hair into a high ponytail and spray your texturizer all over. 2. LIFT YOUR ROOTS One of the best (and easiest) ways to enhance the effects of texturizing spray is by lifting up sections your hair. Simply spray each section of your hair near the root area for maximum volume after a fresh blowdry or curls. 3. BRAID HAIR BEFOREHAND If you want defined, beachy waves, braiding your hair before spraying on the texturizing spray is a good idea. When you braid your hair, keep in mind that the smaller they are, the tighter your waves will be. Once done braiding, spray throughout hair and let it dry fully before taking out braids. 4. BRAID HAIR AFTERWARDS As with dry hair, braiding your locks can help you make the most of your texture spray. The only difference with wet hair is that you’ll want to spray first, braid second. Spritz throughout towel-dried hair, braid hair, and then let it dry. The result? Beautiful loose waves! 5. USE THE BLOWDRYER You can still achieve messy, lived-in waves even if you don’t have time to let hair air-dry. Simply speed things up by blow-drying your braids with a diffuser attachment on the blowdryer. MY FAVOURITE TEXTURE SPRAYS
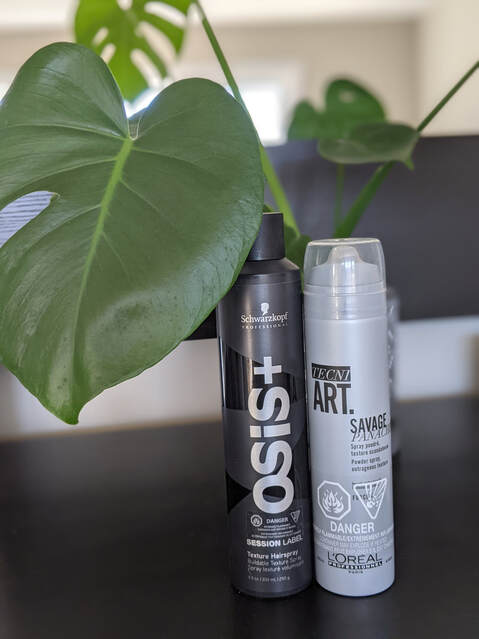
L'OREAL PROFESSIONNEL SAVAGE PANACHE $28 (available in salons) SCHWARZKOPF OSIS TEXTURE SPRAY $25 (available in salons) While texturizing spray is the ultimate cool-girl hair product, don't count hairspray out just yet. Her two must-haves when styling are hairspray and dry texturizing spray. These products work well together, but their functions are very different. I recommend hairspray for cleaner and more precise styles that require hold and control like a sleek parted pony or a smooth blowout. I would use a texture spray for mimicking natural texture, beachy styles, a fluffy pony, and day two or three hair. Sometimes it can feel a lot more difficult to blowdry your own hair than your hairdresser makes it look in the salon. During a time when many of us are spending time in lockdown, now could be a great time to start experimenting with products and brushes that you've never had time to try. In this video, I show the technique I use for my everyday smooth, and voluminous blowdry. Check it out and let me know what you think! Christine XO @torontostylist Whether you live in Canada, the United States, or half way across the world, our situation is one and the same. We are coming into a potential second wave of Covid-19. If we learned anything during the lengthy global shutdowns this spring, it was that the beauty appointments we regularly schedule are a privilege, including our hair.
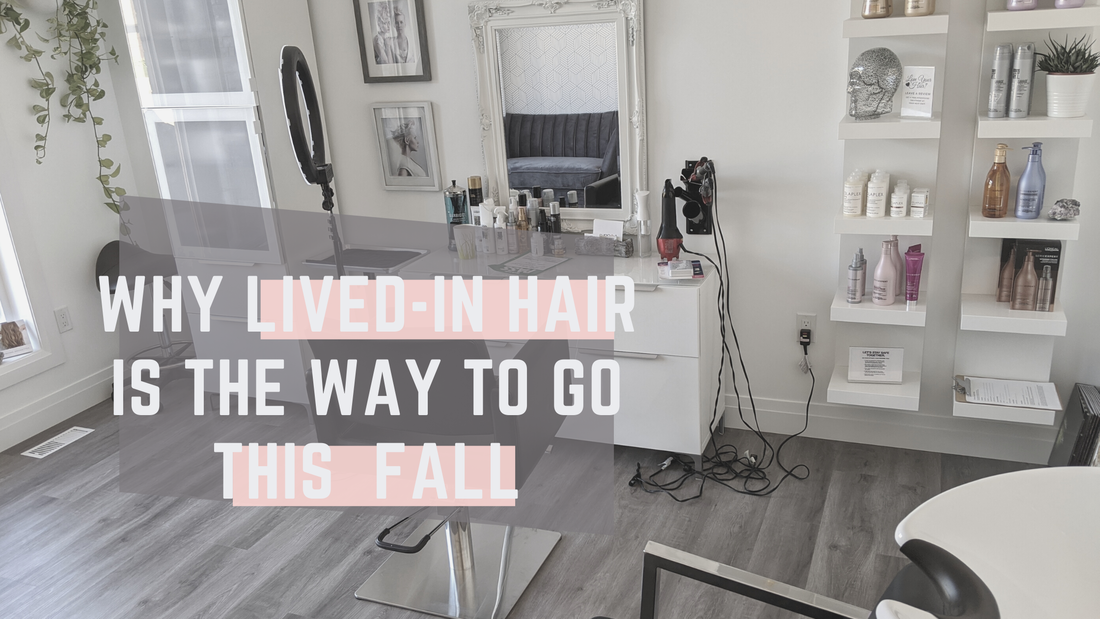
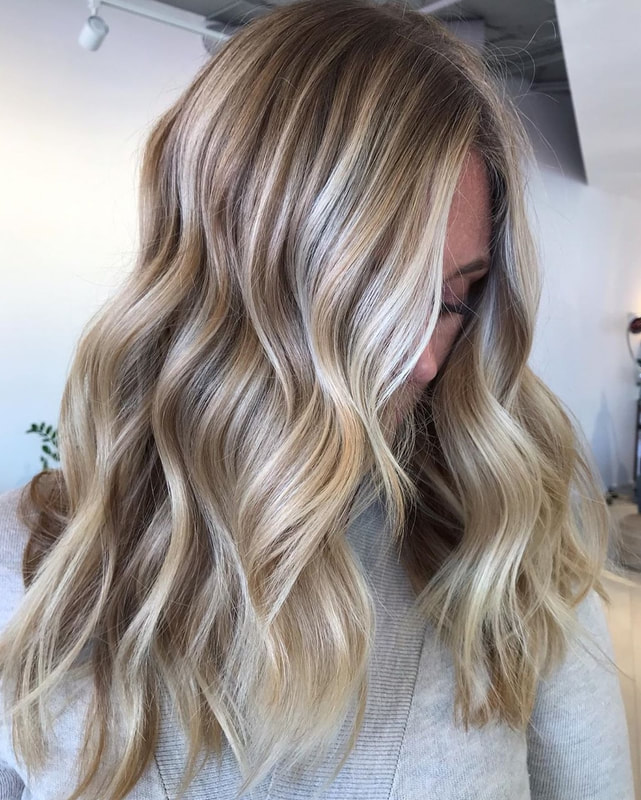
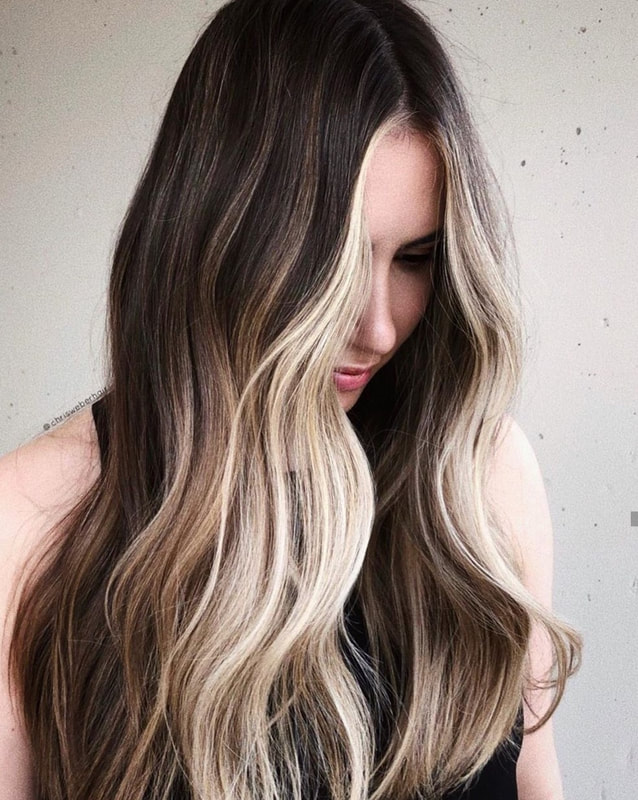
When the world began to reopen customers quickly began to emerge eager as ever to have their colour freshly done. But there was a stark contrast between the way someones hair had grown out with a previous lived-in colour placement (blended highlights) vs. solid colour or tightly weaved highlights. I'm talking a really big contrast. With shutdowns an ongoing concern, there are a few ways that lived-in colour is the way to go at your next hair appointment! REASON #1 : NO LINES Super blonde hair, and solid colours are great but without regular appointments every 4-8 weeks they tend to leave the dreaded 'line of demarcation' aka the big root line. So if this is you, ask your stylist to add face-framing highlights and melt your base. In hairdresser lingo this means to softly blend your natural colour into your old highlights. The results are stunning, giving you that salty beach hair we all love so much. REASON #2: ITS EASIER ON THE WALLET You may find you pay a bit more for a creatively painted balayage in the salon, but trust me its worth it. For the little extra you pay, your number of maintenance appointments will go down. With many people's budget being stretched a bit more, its always nice knowing you can have amazing hair, without feeling the guilt of over-spending. REASON #3: HEALTHIER HAIR You may not realize this, but throwing a solid dark brown colour over your highlights every fall is taxing on your hair. Often, people forget that when they decide they want to go light again in the spring/summer that we are re-bleaching out some of those old blonde highlights. Why is this cause for concern? Because the integrity of your hair can become compromised (...think dry, brittle or breaking. AH!) Instead, add some contrast back into your hair by requesting lowlights, and a toner to deepen the blonde. You would be surprised how amazing your old blonde pieces can look when they're shiny, and freshly coloured. Sometimes the switch to something new takes some adjustment, but with our "new normal" we will be forced to adjust to the rules as they arise. Everyone wants to look their best, with or without their hairdresser, and it seems to me that lived-in colour is the way to go in FALL 2020. Fall is always a great time to make a change to your hair. Making a shift can be intimidating, but with the trends we're seeing for the fall of 2019, it's totally easy.
We are slowly sliding back into simplicity, jumping back into several generations of hairstyles. Reviving these looks feels refreshing and most people can rock at least one of these looks and look fantastic. - The 4 Distinct Trends - 1. {TOP LEFT} The High Contrast Foilyage (say foy-lee-ah-je) -- We're still focused on blending the roots for a seamless grow out, but now we're starting to get a bit more bold with a more contrasting pop to what's added in. Think positive and negative space from art class in high school. 2. {TOP RIGHT} The Face Frame -- This is a great look when you want to keep your hair as healthy as possible, but still want to have a striking look. The pop around the face looks incredibly stylish, but is super low maintenance and beautiful all in one. 3. {BOTTOM LEFT} The Nineties Bob -- This classic cut popularized in the 1990's has totally resurfaced. Clothing trends have been swinging in that direction this year, so of course the hair follows suit. Let's be real though, this look is not quite as simple to maintain as it looks. This cut needs to be blow dried and styled, as well as trimmed every 6-8 weeks ideally to maintain its blunt look. It is super cute though! 4. {BOTTOM RIGHT} The Shag with a Curtain Bang -- Hello 1970's! This is my personal favourite this fall. The cut is all about combining the textured layers of a shag, with our modern day beachy waves. The bang is long, textured and face framing. This look requires some commitment to styling (and bang trims), but if you have natural wave you might be able to enhance your own curl with a diffuser and a curling wand. What is your favourite look for fall 2019? Let me know in the comments below! .Static in your hair is incredibly annoying. Getting rid of static electricity can be just as annoying. Preventing static from building up in your hair is the first step, but sometimes (especially in winter), it just can't be helped. Here are a few static-busting strategies and products to try.
More Moisture Preventing static in the first place is the best way to banish static problems. The big rule with static is that more moisture equals less static. If you're not using conditioner, it's time to start. A salon quality conditioning masque like L'Oreal Professionel's Absolut Repair works wonders when it comes to replenishing to moisture in your hair. Dryer Sheets
Hairspray Hairspray—even a light-hold formula—not only helps reduce static charge but also can keep your hair from floating in the sky. Try spraying a little on your brushes before you use them. A word to the wise about hairspray and static control: Easy does it. Too much hairspray actually can make the static problem worse. Most hairsprays include some alcohol, which can dry your hair out. Remember dry= static. For a kinder, gentler spray, try L'Oreal Pro's Fix Anti-Frizz Hair Oil Oil is used for so many different hair- and skin-related issues, and static control is at the top of the list. Use it on your ends before you blow-dry to keep them moisturized. Rub a few drops through your fingers and finger-comb your hair after it's dried. A little goes a long way here; make sure you keep the oil concentrated on your ends to prevent a greasy scalp. Check out two favorite hair oils: Mythic Oil by L'Oreal Pro Moroccan Oil A Better Blow Dryer People tend to keep blow dryers far past their prime. If it's been a while since you've replaced yours, consider upgrading to an ionic model. This type not only helps reduce static but also reduces your blow-dry time significantly. That, in turn, prevents the lack of moisture that aggravates static. Less Shampooing Daily shampooing dries your hair, which in turn promotes static—so skip a day or two (or more). When you do need to shampoo, choose a moisturizing formula to add that all-important moisture. Check out my favourite light-weight moisturizing shampoo Nutrifier. Swap Out Combs and Brushes If you're using plastic combs, you're asking for static to rule your world. Switch out your plastic combs for metal or ceramic—or purchase a comb or brush that's specifically created to prevent static buildup. If you're sticking to the regular type, bear in mind that combs with wider-spaced teeth produce less static than their closely spaced counterparts. As for brushes, choose natural bristles instead of plastic. They cost more, but you'll notice a significant change in the amount of static you're fighting. Having healthy and attractive hair involves a certain amount of time spent in the salon. If you colour or chemically treat your hair in any way, you will need frequent appointments in order to maintain your style. What you do to your hair also dictates how frequently you may need a haircut. Cutting your hair is an important part of hair maintenance and should not be put off or forgotten. How frequently you cut your hair depends on a number of different factors. Let’s explore a few examples. Chemically Treated Hair You will notice that once you start treating your hair with colour or any desired look that requires chemical treatment, you will need to up your frequency of haircuts. Although your stylist is the most qualified person to treat your hair, that doesn’t mean that chemicals are the healthiest choice for your hair. Chemicals damage your hair which can lead to more frequent trims to maintain health and minimize breakage. Since many hairstyles cannot be achieved without some use of chemicals it has become very regular practice in the hair world. Just be sure to treat your hair properly once the treatment is complete. Long Hair If you have long hair, or medium-length hair and wish it to be long, your stylist will recommend that you visit them every 8-12 weeks for a trim. This process is important to maintaining the health of your long locks. Long hair is susceptible to split ends which if left untreated will damage your hair and possibly cause you to lose valuable length. If you have excessive breakage or split ends your stylist may recommend a slight trim every 8-12 weeks in order to stay on top of the problem. Medium-Length Hair If you have a length that you love and want to maintain, it’s important to have frequent haircuts. Hair can grow about half an inch in a four-week time frame so if your style is perfect the way it is, schedule appointments every 6-8 weeks to maintain your existing look. Your End Goal If you want to grow out your hair and ultimately end up with long hair, it may not be intuitive to go for frequent hair trims. However this is the time when it’s especially important to get frequent trims! In order for hair to grow long and healthy, the dead and split ends need to be removed. Advise your stylist of your hair growth goals and they will tell you what the frequency of your visits should be in order to achieve your goals. No matter what way you look at it, haircuts are important for overall hair health. Don’t delay in scheduling your next appointment with your stylist and cause your hair to suffer for it! Think a fabulous blow dry can only be achieved at the salon?
With the right tools and products, you can definitely style your hair to perfection at home! Today I'm sharing my step-by-step guide to doing it for yourself: Step 1: Choose The Right Blow Dryer The blow dryers you buy in drugstores aren’t the best quality. You don’t need to fork out for a fancy Dyson but you’ll want to spend at least $100 to get something decent. Look for one that has powerful airflow and adjustable heat settings. Also, make sure the dryer you choose isn’t too heavy and comes with a concentrator nozzle or diffuser attachment! Take Care Of Your Blow Dryer! 1) Don’t shake it while you’re using it! You wouldn’t shake your toaster, would you? 2) When storing, wrap the cord loosely around itself, not the dryer. 3) To avoid your blowdryer over heating, make sure you are cleaning out the filter located on the back to remove hair and debris that has collected over time. Step 2: Towel Dry After washing, absorb the excess moisture by gently squeezing your hair with a towel. Don’t rub because it can create knots, and cause frizz and breakage! Step 3: Add A Heat Protecting Product No matter what kind of hair type you have, you’ll need to use a heat protector before you start drying to keep strands smooth. I like L'Oreals 10-1 Leave-in Spray or Mythic Oil. If you have average hair, follow this up with a normal volumizing mousse like L'Oreals Full Volume. Whatever product you choose, don’t use too much or it will weigh the hair down. About a quarter-sized dollop is usually enough. Step 4: Rough Dry Set your blow dryer to medium heat and blast your hair all over until it’s about 80% dry. Flip your head upside down to get some volume (don’t do this if your hair is curly – you have enough volume!). If your hair is tangled, comb it after the rough dry. Step 5: Section Hair Into Pieces Sectioning your hair is the key to a great blowout. It helps dry hair properly and you’ll get a smoother more professional finish. You can buy section clips at beauty supply stores. Here’s how to section: Start by clipping up the hair above your temples. Add another section from just above your ears. Start your style with the remaining hair that is left unclipped. Step 6: Dry Each Section Using A Round Brush If you want to totally smooth blow dry you’ll need to dry using a medium sized round brush. I like the ceramic-coated brushes because hair doesn’t tangle and get stuck. Make sure your concentrator is attached to your hair dryer! Using medium heat start by drying the back section at the nape of your neck first. When drying, you always want to start at the roots and midsection of the hair. The ends will dry on their own. Each section has to set, so don’t take out the brush too fast before drying hair again! If you over-dry you can damage the hair. Aim for about one minute per section. If you have two brushes that are the same size, leave one in the hair and move on to the next section. After blow drying the nape section, move center section. Do the same as above then move on to the top most section. The crown is where you want the most height so I usually pull the sections straight up while drying them. This can be hard to do on your own but practice makes perfect! Step 7: Apply A Finishing Product Using your fingers, carefully place where you want hair to be, then apply a finishing spray. My favourite is Savage Panache by L'Oreal because it gives hold, volume and texture. A lot of people don’t like hair spray but it will really help smooth out the cuticle and creates the pieces you want to accentuate, like keeping curtain bangs in place so they won’t fall into the rest of your hair. Finally, to really set the look, I like taking tiny pea size amount of Mythic Oil and running it through the ends of the hair. I also use a mist of L'Oreal's Fix Anti-Frizz Hairspray to tame any fly-aways. Voila! A beautiful, salon-quality blow out that you did yourself. Final Words Of Advice: A professional quality blow dry takes 30 to 40 minutes to achieve, depending on the length of your hair and it should last 2 to 3 days. To extend that, apply a dry shampoo to help block oils. You can also re-blow dry the front pieces everyday to help maintain the look. Don’t give up on blow drying your hair! There’s no magic secret, it just takes practice! You CAN do it yourself! If you feel you need a hands on styling lesson in the salon, feel free to contact me by email at [email protected] |
I've got you covered!YOUR ONE STOP SHOP FOR ALL THINGS RELATED TO HAIR AND HEALING. AuthorChristine White is a stylist, educator and the owner of Chroma Salon in Sarnia, ON. Archives
December 2023
Categories |








 RSS Feed